


M
Excellent
LOVE this suana. Maya and Norse Steam Team were amazing to work with!


The DuraVent PelletVent Pro Harman Adapter Increaser is a stove fitting that joins a Harman pellet stove to 4 inch PelletVent Pro pipe. It slips over the stove’s wider than usual factory outlet and increases the vent size in one piece. It fits any Harman pellet stove’s factory outlet, where high temperature silicone seals the connection. PelletVent Pro is DuraVent’s double wall pellet stove vent: a corrosion resistant stainless steel inner pipe inside a galvalume outer pipe, sold in 3 and 4 inch sizes.
The pipe’s twist lock connection closes with a push and a turn. Align the tabs and keep the labels’ UP arrows pointing up. A gasket inside the receiving end seals that joint. The stove maker, not DuraVent, sets the vent layout limits. DuraVent recommends avoiding long routes and unnecessary elbows. Long, cold runs produce more condensation, or water from cooling exhaust. Longer routes are best kept indoors or in an enclosed shaft called a chase. Staying with 3 inch pipe? See the DuraVent PelletVent Pro Harman Adapter for 3 inch pipe. The DuraVent PelletVent Pro Harman Adapter Increaser ships free from My Cozy Outdoors with No Sales Tax (except WY) and the full manufacturer warranty.
SKU: 3PVP-X4ADHB
Applications
PelletVent Pro® is a venting system designed for stoves and inserts that use wood pellets and oil fuel. It is also built to vent biofuel products such as corn, switch grass, cherry pits, soybeans, coffee husks, sunflower hulls, walnut shells and wheat, to name a few. (Rated for continuous use flue temperaftures up to 570°F.)
Materials and Construction
Laser-welded, double-wall pipe with a .012″ inner wall of 444 stainless steel and a .018″ laser-welded galvalume outer wall. Painted black exterior available. Primary metal-to-metal connection seals joint. Encapsulated o-ring provides a secondary seal.
Clearances
1″ clearance to combustibles in the USA and Canada for appliances using corn and other biofuels, wood pellets or oil.
Shrouds
UL Listed with Duravent shroud specifications.
Diameters
3″
Listings
c-UL-us Listed to UL 641 (MH8381 and MH14420).
ULC Listed to ULC S609, ULC/ORD C441 (CMH1439 and CMH1440).
Refer to our Typical Venting Installation drawings to select the appropriate component parts for your installation.
| Installation Key | |
|---|---|
| 1 | Vertical Cap |
| 2 | Storm Collar |
| 3 | Flashing |
| 4 | Cathedral Ceiling Support Box |
| 5 | Straight Length Pipe |
| 6 | 45° Elbow |
| 7 | Appliance Adapter |
| 8 | Flex Length |
| 9 | 90° Elbow |
| 10 | Horizontal Cap |
| 11 | Wall Thimble |
| 12 | Celling Support Firestop Spacer |
| 13 | Tee w/Clean-Out Tee Cap |
| 14 | Wall Strap |
| 15 | Attic Insulation Shield |
| 16 | Prairie Termination Cap |
Planning Your Installation:
| 1 | Refer to the Typical PelletVent Pro Installations diagram, on the opposite page, to be familiar with some of the standard PelletVent Pro installations and the required component parts. |
|---|---|
| 2 | For a horizontal termination, you will need a Wall Thimble and a Horizontal Cap. The cap must be installed with a 6″ clearance to the outside wall (refer to appliance manufacturer’s installation instructions for other clearances). |
| 3 | For a vertical termination, you will need a Cathedral Ceiling Support Box or Flat Ceiling Support, Attic Insulation Shield (if passing through an attic), Flashing, Storm Collar, and Vertical Cap. |
| 4 | Determine the length of PelletVent Pro pipe required. For a vertical termination, measure the pitch of the roof and select the proper flashing. The required minimum height above the roof is 12″. |
| 5 | Pellet stove inserts in masonry fireplaces will require a flex pipe to snake the vent past the smoke shelf. For transition from PelletVent Pro to an existing DuraPlus, DuraPlus HTC, or DuraTech Chimney, a Chimney Adapter is available. |
| 6 | For vertical rise of PelletVent Pro on the outside of the house, Wall Straps should be used at 4′ intervals to provide proper support. |
| 7 | Important! Check to be sure that the appliance and the venting system are in compliance with all minimum clearance to combustible requirements. |
The following design recommendations are a general guideline to assist in the design and selection of venting components for your installation. Always follow Duravent Installation instructions before installing your chimney system (found with the cap or support box).
Bulletins
Brochures
Educational Papers
PelletVent Pro® Tee: New Double Spring Button Design Video
PelletVent® Horizontal Installation Video
PelletVent® Installation Guide Video
Customer Reviews
What Our Customers Say
LOVE this suana. Maya and Norse Steam Team were amazing to work with!
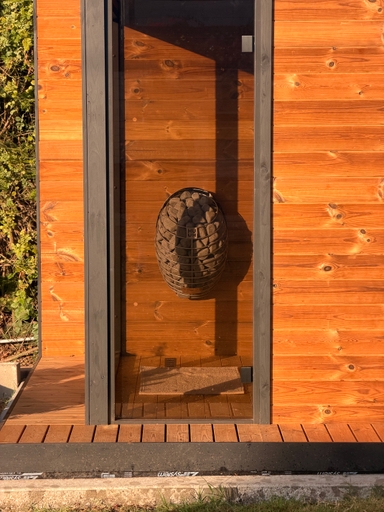
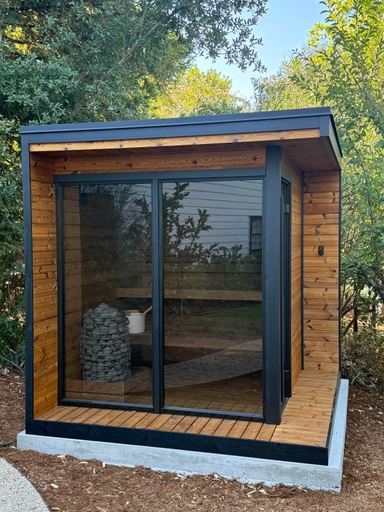
A sauna turns your garden into a spa oasis. We debated it for a while, but after renovating our house, we pulled the trigger and bought a sauna from Norse Steam and Maya. She was always super responsive and helpful throughout the process. Don't kid yourself, getting a really nice sauna is not that easy. Sizing and heating need to be figured out, as does the building, but we have always had a helpful partner on our side. She never upsold us on anything we didn't need, and we got some nice freebies when the sauna was delivered. And now we can really enjoy every moment in our garden.
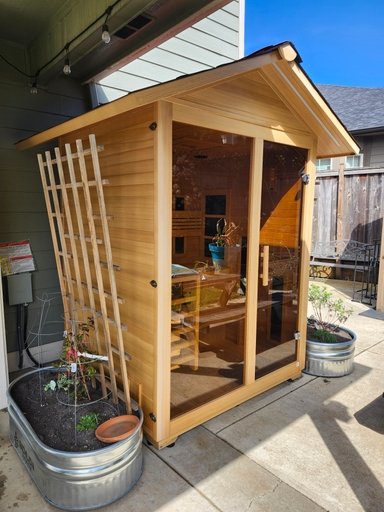
I'm really happy with my sauna purchase. Maya gave above and beyond excellent customer service. She wasn't pushy and gave impressive followup after the delivery to make sure everything was just right.
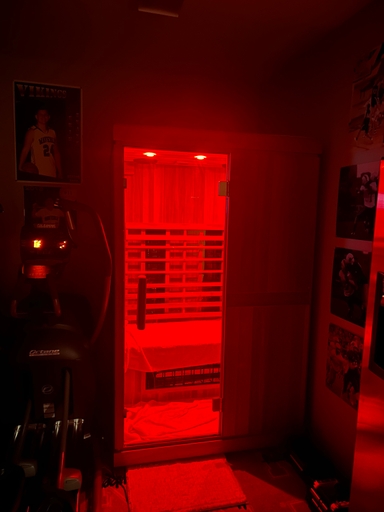
I enjoy my FD2 Sauna with Red Light, Infrared and radiant heat. Use it 5x a week and my post workout soreness is minimal and sleep great. Maya at Norse Steam was excellent to work with.
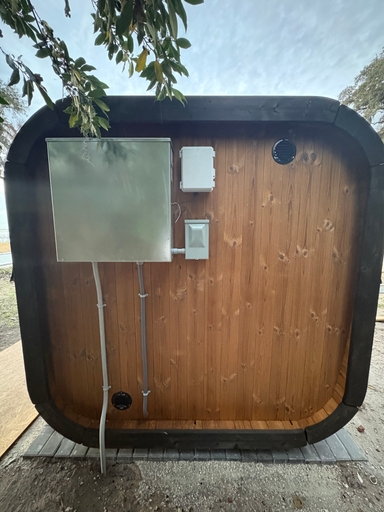
We purchased the 3-person sauna for our outdoor garden. We chose the cube sauna for the aesthetic and could not be happier.
I assembled by myself except for the 2 large panels (requires a few people). Instructions were good - took me two partial Saturdays to complete and a few hours to unpack and organize in advance of assembly. Had my elec. add a NEMA enclosure on the back for the controller and power for lights and a 2nd panel for the wireless control.
Customer service was excellent
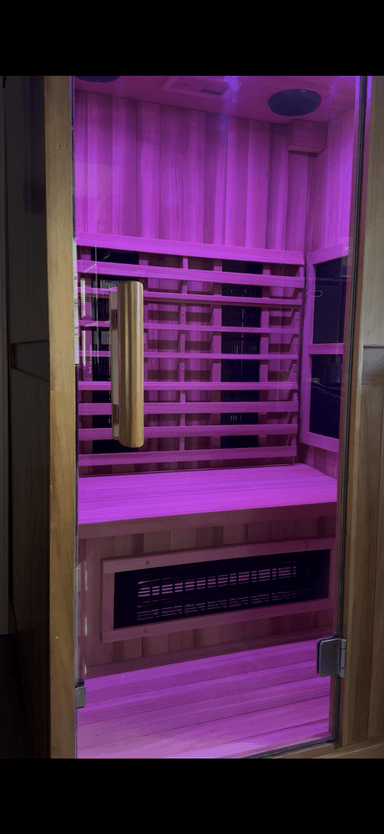
Awesome Sauna and Awesome Company and Experience purchasing it from Maya!
After much research I chose the Finnmark FD-2 and it has met and exceeded all my expectations! Easy to assemble and it functions great - just as advertised. I highly recommend it for home use!
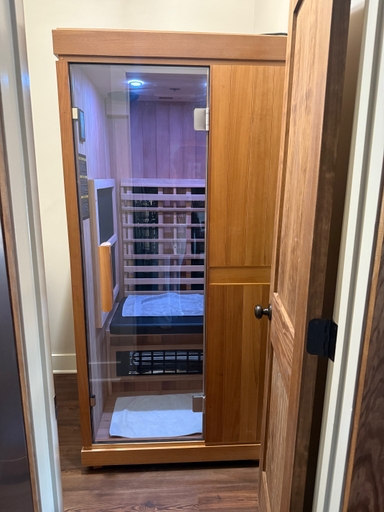
Recently purchased the Finnmark one person after much research. Extremely happy with it and the ordering process. Maya was very responsive and helpful during the process and keeping us updated while we waited for shipment. There were several places I could have ordered this, but i chose Norse Steam based on the communication and customer service which was fantastic. The shipment was also excellent. The setup was pretty seamless for two people - but the best part is the sauna experience 10/10
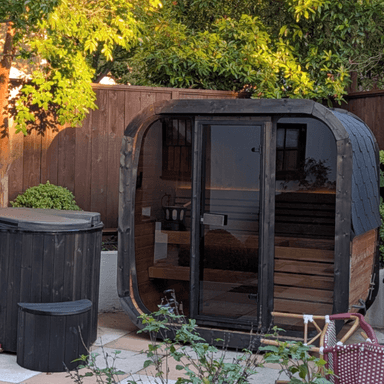
Maya is amazing - super helpful and responsive. Looked at many stores, these guys have the best prices and service. Highly recommend
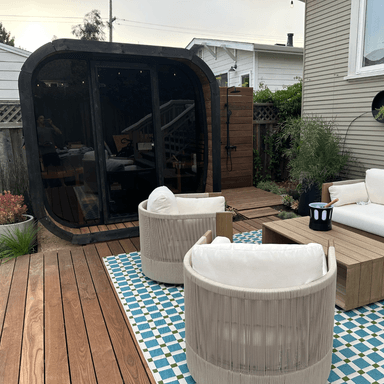
Norse Steam, and specifically Maya, were extremely helpful as I was making the decision for our Sauna. I was able to get all of the necessary details to make a decision as construction was happening in my backyard to make space for it.
We absolutely love the CL7G. It is extremely comfortable for 6 people (can fit more less comfortably). The Thermory Spruce and Aspen in the interior smells great. The lighting is lovely. We paired the CL7G with the Harvia Spirit 10.5kw.
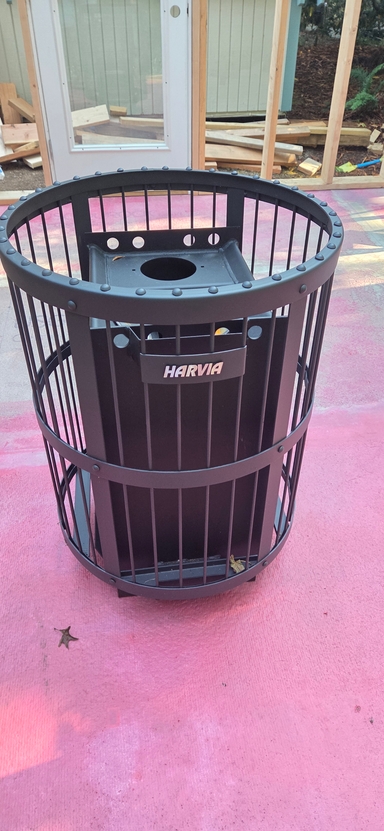
Had great experience shopping at Norse Steam for the new heater. They had very good deal, with rocks. Customer service was good, and responded very fast with my questions. Received the heater, and it looks good, and the quality seem to be great. Will install soon, and am very excited to start experiencing sauna the way it ment to be
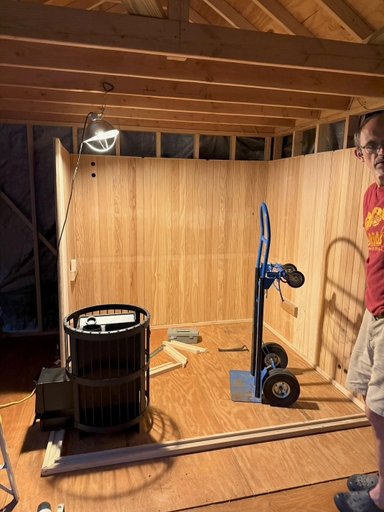
thanks Norse Steam for flawless transaction - I got instant replies on my questions, received competitive price on the wood stove and got it delivered within two weeks!
Can highly recommend Norse Steam for others.
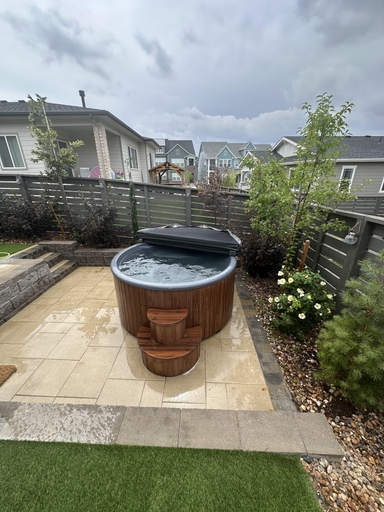
I got the Norse Steam SaunaLife wood-fired hot tub, the S4N model, and its been seriously great. It heats up quicker than I expected, usually around an hour and a half, and once its hot, it stays that way for a good long while. The wood-fired system is simple to use, and honestly kind of fun.
The tub itself feels solid and well put together. The thermo-spruce exterior looks beautiful in person, and the fiberglass interior is smooth, deep, and easy to clean. Its the kind of setup that just works without a bunch of fuss, which I really appreciate.
Also, the team at Norse Steam was genuinely great to work with. Super helpful, quick to respond, and made the process really easy from start to finish. It felt like they actually cared that I was happy with it. The tub has totally become a go-to way to unwind, and I wouldnt change a thing.
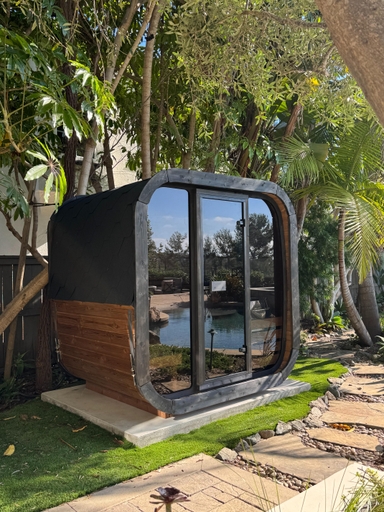
Maya was so knowledgeable and responsive. She helped me understand the product options and found a fantastic solution that fit our needs. Her follow through was very helpful and made us comfortable with our decision. We are extremely happy with the end result!
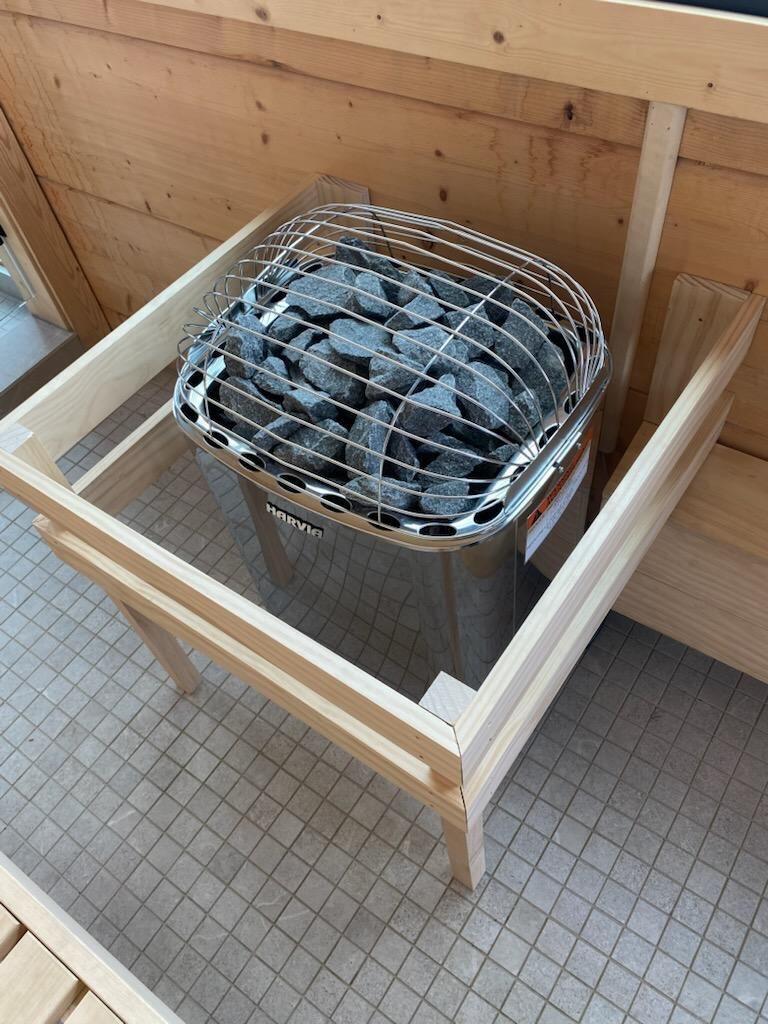
I recently purchased the Harvia Club sauna equipment, and I am thoroughly impressed with both the product and the customer service experience. The heaters robust performance and durable stainless steel construction make it ideal for larger sauna spaces, providing consistent heat and a relaxing environment. Its compatibility with advanced controls ensures a personalized sauna experience every time.
The customer service team was exceptional, prompt, knowledgeable, and helpful throughout the purchase process. They ensured smooth delivery and provided clear guidance on installation and operation. Overall, I highly recommend Harvia Club for anyone seeking premium-quality sauna equipment backed by excellent support!
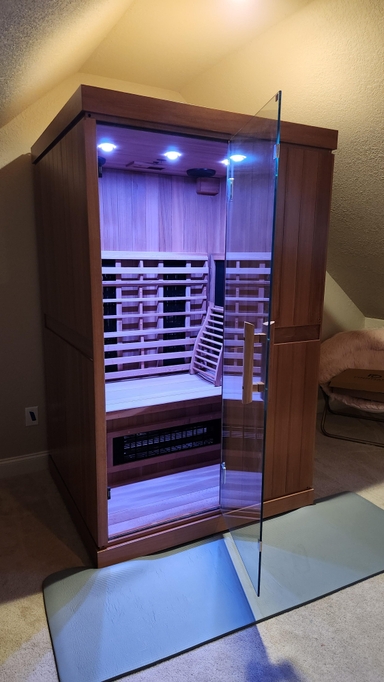
Great experience purchasing Finnmark FD-2 from Norse Steam. Good communication and easy to assemble. Temperature increases quickly (30 minutes or less to 140) and maintains well. So far this has been a great purchase.
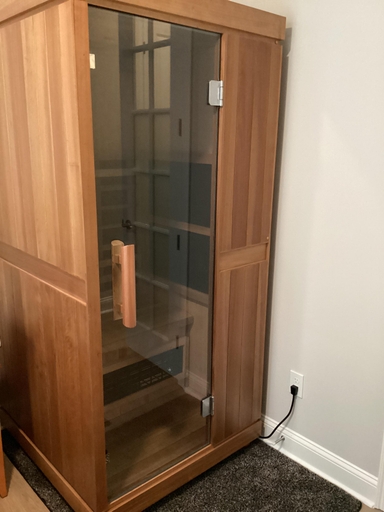
We purchased the Finnmark SD-1 sauna. Maya was extremely helpful with the purchase. We had an issue with the sauna not reaching the maximum temperature, and Maya connected us with the appropriate technician that explained how to correct the issue. The sauna now heats to the maximum temperature (170 degrees) in less than an hour, and it is a great unit. We are very happy with it, and we would definitely purchase from NorseSteam if we needed any other items.
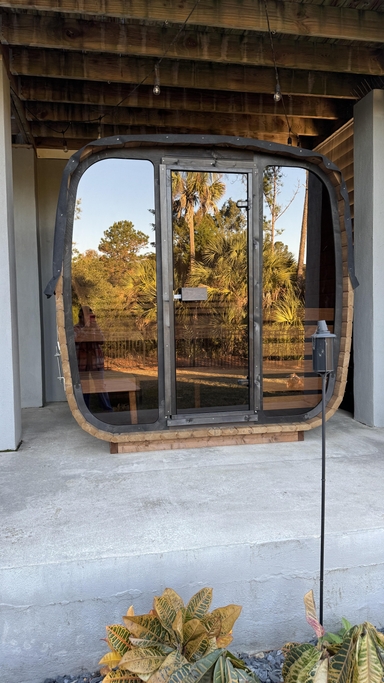
I recently purchased a sauna from Norse Steam, and I couldn't be more impressed with the entire experience. From start to finish, their customer service was exceptional, and Maya deserves special recognition for her outstanding support!
Maya was incredibly knowledgeable and patient, answering all my questions about the sauna features, installation process, and maintenance. She went above and beyond to ensure I selected the perfect model for my home. Even after the purchase, Maya followed up to make sure everything was running smoothly and that I was satisfied with my sauna.
The sauna itself is top-notch beautifully designed, durable, and easy to use. It's clear that Norse Steam takes pride in the quality of their products and their commitment to customer satisfaction.
If you're considering a sauna, I wholeheartedly recommend Norse Steam. With their excellent customer service and high-quality products, you're in great hands. Thank you, Maya, and the entire Norse Steam team for a fantastic experience!


Get In Touch
Call or Text us for our Best Price
It's important to us to go above and beyond for our clients and make sure you make the right decision for your home.
Customer Reviews

LOVE this suana. Maya and Norse Steam Team were amazing to work with!

A sauna turns your garden into a spa oasis. We debated it for a while, but after renovating our house, we pulled the trigger and bought a sauna from Norse Steam and Maya. She was always super responsive and helpful throughout the process. Don't kid yourself, getting a really nice sauna is not that easy. Sizing and heating need to be figured out, as does the building, but we have always had a helpful partner on our side. She never upsold us on anything we didn't need, and we got some nice freebies when the sauna was delivered. And now we can really enjoy every moment in our garden.

I'm really happy with my sauna purchase. Maya gave above and beyond excellent customer service. She wasn't pushy and gave impressive followup after the delivery to make sure everything was just right.

I enjoy my FD2 Sauna with Red Light, Infrared and radiant heat. Use it 5x a week and my post workout soreness is minimal and sleep great. Maya at Norse Steam was excellent to work with.
got amazing support for all my questions, fast delivery, and the team even reached out to me after to make sure everything was in order. perfect experience. highly recommended.

We purchased the 3-person sauna for our outdoor garden. We chose the cube sauna for the aesthetic and could not be happier.
I assembled by myself except for the 2 large panels (requires a few people). Instructions were good - took me two partial Saturdays to complete and a few hours to unpack and organize in advance of assembly. Had my elec. add a NEMA enclosure on the back for the controller and power for lights and a 2nd panel for the wireless control.
Customer service was excellent
They really went above and beyond to get my sauna up and running. I would really recommend them for any of your needs.

Awesome Sauna and Awesome Company and Experience purchasing it from Maya!
After much research I chose the Finnmark FD-2 and it has met and exceeded all my expectations! Easy to assemble and it functions great - just as advertised. I highly recommend it for home use!

Recently purchased the Finnmark one person after much research. Extremely happy with it and the ordering process. Maya was very responsive and helpful during the process and keeping us updated while we waited for shipment. There were several places I could have ordered this, but i chose Norse Steam based on the communication and customer service which was fantastic. The shipment was also excellent. The setup was pretty seamless for two people - but the best part is the sauna experience 10/10

Maya is amazing - super helpful and responsive. Looked at many stores, these guys have the best prices and service. Highly recommend

Norse Steam, and specifically Maya, were extremely helpful as I was making the decision for our Sauna. I was able to get all of the necessary details to make a decision as construction was happening in my backyard to make space for it.
We absolutely love the CL7G. It is extremely comfortable for 6 people (can fit more less comfortably). The Thermory Spruce and Aspen in the interior smells great. The lighting is lovely. We paired the CL7G with the Harvia Spirit 10.5kw.

Had great experience shopping at Norse Steam for the new heater. They had very good deal, with rocks. Customer service was good, and responded very fast with my questions. Received the heater, and it looks good, and the quality seem to be great. Will install soon, and am very excited to start experiencing sauna the way it ment to be

thanks Norse Steam for flawless transaction - I got instant replies on my questions, received competitive price on the wood stove and got it delivered within two weeks!
Can highly recommend Norse Steam for others.

I got the Norse Steam SaunaLife wood-fired hot tub, the S4N model, and its been seriously great. It heats up quicker than I expected, usually around an hour and a half, and once its hot, it stays that way for a good long while. The wood-fired system is simple to use, and honestly kind of fun.
The tub itself feels solid and well put together. The thermo-spruce exterior looks beautiful in person, and the fiberglass interior is smooth, deep, and easy to clean. Its the kind of setup that just works without a bunch of fuss, which I really appreciate.
Also, the team at Norse Steam was genuinely great to work with. Super helpful, quick to respond, and made the process really easy from start to finish. It felt like they actually cared that I was happy with it. The tub has totally become a go-to way to unwind, and I wouldnt change a thing.
This is a terrific stove from Harvia and is top quality, as youd expect from a reputable brand thats been in the sauna business for so long. Doing business with Norse Steam was also a pleasure. The order was processed quickly, communications from the company kept me up to date with processing and shipping, and everything arrived in perfect condition. Even scheduling the freight delivery for the stove and stones was a piece of cake. Everything went very smoothly and I will surely do business with them again in the future. Thanks for making it so easy

Maya was so knowledgeable and responsive. She helped me understand the product options and found a fantastic solution that fit our needs. Her follow through was very helpful and made us comfortable with our decision. We are extremely happy with the end result!

I recently purchased the Harvia Club sauna equipment, and I am thoroughly impressed with both the product and the customer service experience. The heaters robust performance and durable stainless steel construction make it ideal for larger sauna spaces, providing consistent heat and a relaxing environment. Its compatibility with advanced controls ensures a personalized sauna experience every time.
The customer service team was exceptional, prompt, knowledgeable, and helpful throughout the purchase process. They ensured smooth delivery and provided clear guidance on installation and operation. Overall, I highly recommend Harvia Club for anyone seeking premium-quality sauna equipment backed by excellent support!

Great experience purchasing Finnmark FD-2 from Norse Steam. Good communication and easy to assemble. Temperature increases quickly (30 minutes or less to 140) and maintains well. So far this has been a great purchase.

We purchased the Finnmark SD-1 sauna. Maya was extremely helpful with the purchase. We had an issue with the sauna not reaching the maximum temperature, and Maya connected us with the appropriate technician that explained how to correct the issue. The sauna now heats to the maximum temperature (170 degrees) in less than an hour, and it is a great unit. We are very happy with it, and we would definitely purchase from NorseSteam if we needed any other items.

I recently purchased a sauna from Norse Steam, and I couldn't be more impressed with the entire experience. From start to finish, their customer service was exceptional, and Maya deserves special recognition for her outstanding support!
Maya was incredibly knowledgeable and patient, answering all my questions about the sauna features, installation process, and maintenance. She went above and beyond to ensure I selected the perfect model for my home. Even after the purchase, Maya followed up to make sure everything was running smoothly and that I was satisfied with my sauna.
The sauna itself is top-notch beautifully designed, durable, and easy to use. It's clear that Norse Steam takes pride in the quality of their products and their commitment to customer satisfaction.
If you're considering a sauna, I wholeheartedly recommend Norse Steam. With their excellent customer service and high-quality products, you're in great hands. Thank you, Maya, and the entire Norse Steam team for a fantastic experience!
Write a Review
DuraVent PelletVent Pro – Harman Adapter Increaser
Thank you for your review!
Your review has been submitted and will appear on the site once it has been verified.


